Building a simple Minecraft server manager app
I recently deployed a Minecraft server in AWS for me and me son (and perhaps others!) to play multi-player Minecraft. Part of the reason I did this was so that he could join the server from his mother’s house. The other reason was so I could learn more about AWS. In particular, I wanted to see if I could use code to save money, explore IAM roles, and see how much artificial intelligence (AI) would be able to help me with all this.
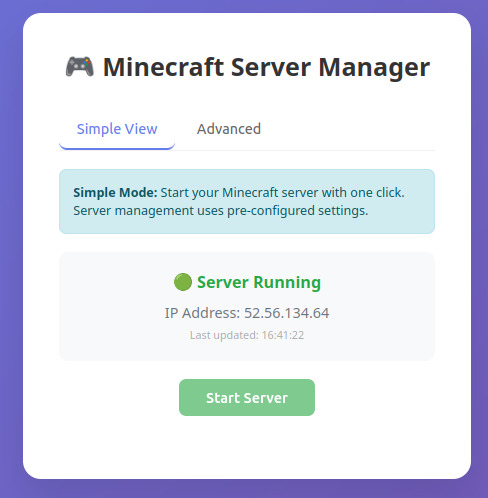
I asked claude.ai to give me the steps to do this and it did a pretty good job. I’d done this before so I had some idea of what I was doing, and would hopefully spot any errors. In this case Claude seemed pretty accurate. I’ve edited and formated the steps for this blog post:
Setting up an elastic compute cloud (EC2) instance on AWS
- Sign in to AWS Console
- Navigate to EC2 Dashboard
- Click “Launch Instance”
- Name your instance (e.g., “minecraft-server”)
- Select the latest long term support (LTS) version of Ubuntu Server
- Ensure this is the ARM64 architecture version since ARM instances are cheaper than x86 on AWS
- I went with a t4g.medium for 2-4 players but that’s probably overkill
- Create a new SSH key pair or select an existing one (download the .pem file if creating a new key pair)
- Create a security group that allows SSH (TCP port 22) from your (static) IP address only
- Add a rule that allows TCP port 25565 from anywhere (0.0.0.0/0) which is the default Minecraft port (for Java Edition)
- Configure 20 GB of gp3 storage - this should be plenty
- Leave other settings as default
Connecting to the new EC2 instance via SSH
- Start the instance and make a note of the IP addresss
- On a Linux laptop use
chmod 400 your-key-pair.pemto correct the permissions for your downloaded SSH key pair - On Windows this can be done by remove inherited permissions (or something along those lines) and giving only your current user permission to read the .pem file.
- Use
ssh -i your-key-pair.pem ubuntu@your-public-ipto connect the EC2 using its public IP address - Note that for Ubuntu, the default user name is
ubuntu - I’m pretty sure there will be no password configured and
sudoshould be possible
We’re relying on our IP whitelisting (using a security group in AWS) and SSH using public key authentication to provide security here. I also recommend adding a host-based firewall with ufw on Ubuntu for an extra layer of defence.
Installing Java and other useful packages
# Update system packages
sudo apt update && sudo apt upgrade -y

# Install the latest version  of the Java runtime environment (JRE)

apt search jre-headless

sudo apt install openjdk-**-jre-headless -y

# Verify Java installation
java -version

# Install screen (to run server in background)
sudo apt install screen -y
We should ideally create a new Ubuntu user here and lock things down further.
Install Minecraft server
# Switch to minecraft user
sudo su - minecraft

# Create server directory
mkdir minecraft-server
cd minecraft-server

# Download Minecraft server jar (replace with latest version)
wget https://piston-data.mojang.com/v1/objects/84194a2f286ef7c14ed7ce0090dba59902951553/server.jar

# Create start script
cat > start.sh << 'EOF'
#!/bin/bash
java -Xmx3G -Xms1G -jar server.jar nogui
EOF

# Make start script executable
chmod +x start.sh
Configure the server
# Run server once to generate files
java -jar server.jar nogui

# This will fail and create eula.txt
# Accept the EULA
echo "eula=true" > eula.txt

# Configure server properties (optional)
nano server.properties
To be continued…